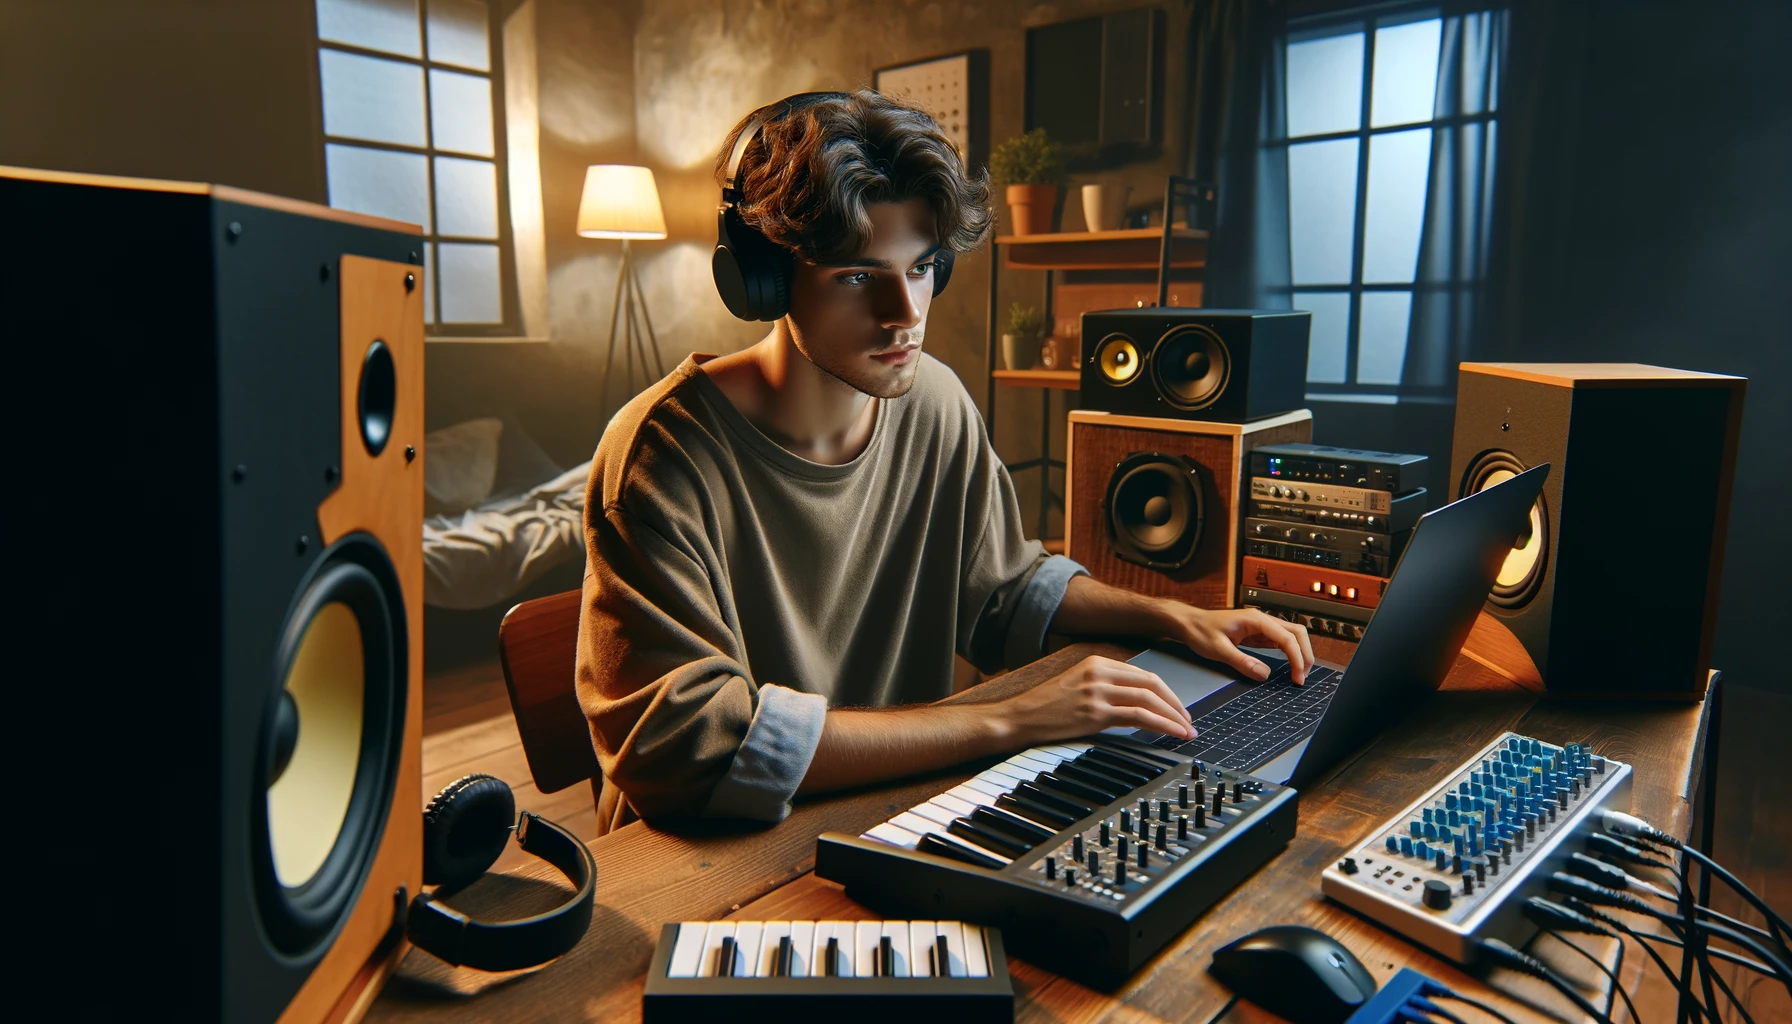
Creating professional-sounding music in a bedroom or office might sound limiting, but with the right acoustic setup and equipment, even a small home studio can deliver clean, accurate mixes. Whether you’re producing beats, recording vocals, or mixing tracks, proper acoustic treatment, speaker choice, and interface setup are key to unlocking your sound’s full potential.
Taming the Room: Acoustic Optimization Basics
Bedrooms and offices often suffer from early reflections, standing waves, and flutter echoes. The simplest way to reduce these issues is to treat the most reflective surfaces:
- Place acoustic panels or rockwool traps at first reflection points (side walls, ceiling).
- Add bass traps in corners to manage low‑end buildup.
- Use a rug or carpet to tame floor reflections.
- Add bookshelves, curtains, or fabric furniture to diffuse high frequencies.
Budget-friendly solutions from companies like GIK Acoustics or Thomann can make a major difference in tightening the sound.
Choosing the Right Studio Monitors
Not all monitors are created equal—especially in untreated or semi‑treated rooms. For small home studios, opt for near‑field monitors with smaller drivers (5″ to 7″) for more accurate listening at close range. A few trusted models:
- Yamaha HS5 – a reliable reference with flat response
- KRK Rokit 5 G4 – punchy lows, often preferred for electronic music
- IK Multimedia iLoud MTM – compact and calibrated for tight spaces
Position them in an equilateral triangle from your listening position, at ear height, and slightly angled inward. Use foam pads or stands to decouple them from your desk.
The Role of the Audio Interface
Your audio interface is the bridge between analog and digital. For most bedroom‑based setups, you’ll want clean preamps, reliable conversion, and low‑latency monitoring. Ideal choices include:
- Focusrite Scarlett 2i2 – a standard for beginners and intermediates
- MOTU M2 – known for exceptional metering and sound quality
- Universal Audio Volt 2 – adds analog warmth with a built‑in vintage mode
Make sure your interface works well with your DAW and supports the sample rates and bit depth you plan to use. These options offer the best balance of quality and affordability for home producers.
Calibrating and Positioning Your Monitors
Even the best monitors underperform if they’re not properly set up. Follow these steps for optimal results:
- Distance: Keep monitors about 1 to 1.5 meters from your ears.
- Height: Align tweeters with your ear level.
- Angle: Aim them toward your ears at a 30–45° inward angle.
- Calibration: Use pink noise and a reference mic with tools like Sonarworks SoundID Reference or the free Room EQ Wizard.
Test levels with trusted reference tracks and tweak positioning until the bass feels tight and the mids/highs are clear and balanced.
Final Notes
Optimizing a home studio in a bedroom or office takes patience and a bit of trial and error—but it’s absolutely achievable. With strategic acoustic treatment, the right monitors, a quality interface, and careful calibration, your mixes will translate much better across all playback systems.
A well‑tuned space isn’t about expensive gear—it’s about using what you’ve got wisely.
![]()