Introduction
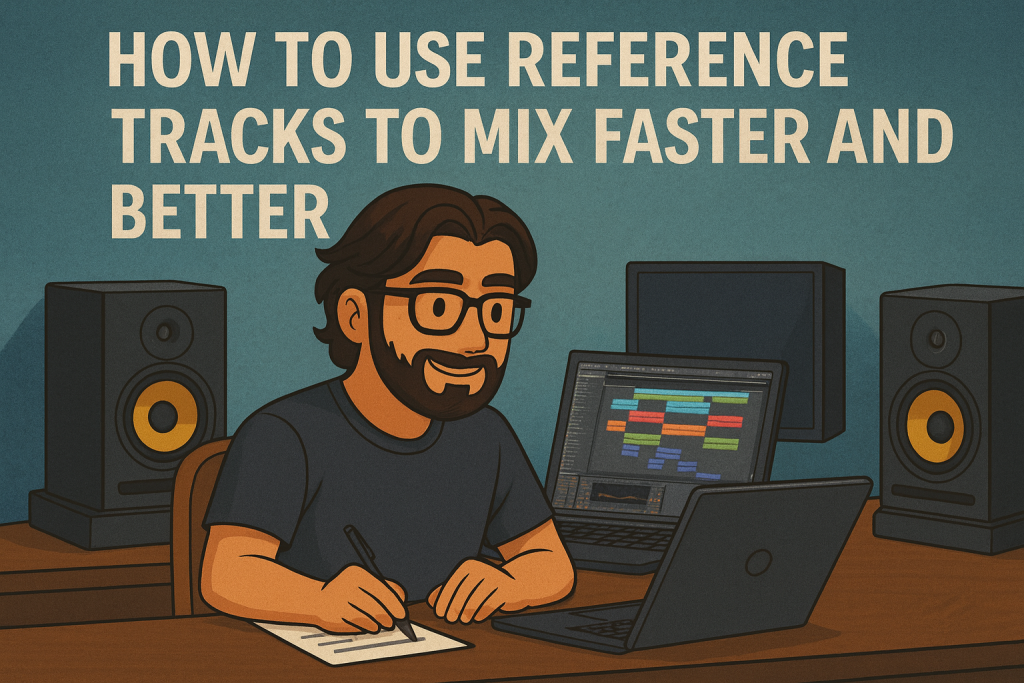
One of the most effective ways to improve your mixes is to compare them to professional reference tracks. Reference mixing is a technique where you use a finished, industry-level song as a benchmark to check your own work. By switching back and forth between your mix and a pro track, you quickly identify imbalances in frequencies, levels, and dynamics.
- Introduction
- Why Use a Reference Track?
- How to Choose the Right Reference Track
- How to Use a Reference Track in Your DAW
- Essential VST Plugins for Reference Mixing
- 1. ADPTR Metric AB
- 2. Mastering The Mix – Reference 2
- 3. iZotope Ozone 11 (Tonal Balance Control)
- 4. Voxengo SPAN (Free)
- 5. FabFilter Pro-Q 3
- Step-by-Step Workflow Example
- Conclusion
This approach doesn’t just help you learn—it can also save hours by guiding your decisions and preventing endless trial-and-error.
Why Use a Reference Track?
- Balance Awareness – Professional tracks show you how bass, mids, and highs should interact.
- Volume Levels – Learn the correct loudness for kick, snare, vocals, and instruments.
- Stereo Imaging – Hear how wide or narrow the mix feels compared to your own.
- Consistency Across Systems – A reference ensures your track will sound good on headphones, speakers, and clubs.
- Speed – Instead of guessing, you know what you’re aiming for.
👉 Reference mixing is like having a “roadmap” toward a professional sound.
How to Choose the Right Reference Track
- Same Genre: Pick a song in the same style as your mix (house, pop, trap, rock).
- High Quality: Use a lossless WAV or a high-bitrate file.
- Similar Energy & Arrangement: If your track is club-oriented, don’t compare it to an acoustic ballad.
- Personal Taste: Choose a track you admire and want to emulate.
How to Use a Reference Track in Your DAW
- Import the Reference Track: Drop it onto a separate stereo channel in your DAW.
- Level Match: Lower the reference’s volume to match your mix loudness (don’t be fooled by the “louder sounds better” effect).
- A/B Switching: Toggle between your mix and the reference frequently (every 30–60 seconds).
- Frequency Comparison: Use an analyzer to see differences in low, mid, and high ranges.
- Tonal Balance: Compare kick vs bass, vocal clarity, snare punch, and reverb levels.
Essential VST Plugins for Reference Mixing
Here are some of the best plugins to streamline the process and make comparison easier:
1. ADPTR Metric AB
- Why: The industry-standard for instant A/B comparison. Lets you load multiple references, switch instantly, and analyze loudness, stereo width, and frequency balance.
- Link: Plugin Alliance – ADPTR Metric AB
2. Mastering The Mix – Reference 2
- Why: Intuitive plugin that helps you match the EQ curve, loudness, and stereo field of any reference track. Designed specifically for producers who want fast results.
- Link: Mastering The Mix – Reference 2
3. iZotope Ozone 11 (Tonal Balance Control)
- Why: Tonal Balance Control shows you how your mix compares to target frequency ranges based on genre profiles. Essential for mastering and final polish.
- Link: iZotope – Ozone 11
4. Voxengo SPAN (Free)
- Why: A free but powerful real-time spectrum analyzer. Great for visualizing EQ curves and comparing them to your reference track.
- Link: Voxengo – SPAN
5. FabFilter Pro-Q 3
- Why: Industry-leading EQ with dynamic EQ features and spectrum analyzer. Excellent for precision adjustments and curve matching.
- Link: FabFilter – Pro-Q 3
Step-by-Step Workflow Example
- Import your chosen reference track.
- Loop a 20–30 second section (chorus or drop).
- Level match to your mix.
- Use a spectrum analyzer (SPAN, Ozone, etc.) to check frequency distribution.
- Compare low-end balance (kick & bass).
- Adjust EQ, compression, and stereo imaging in your track.
- Repeat until your mix “sits” closer to the reference.
Conclusion
Mixing without a reference track is like driving without a map—you might eventually arrive, but it’ll take longer and involve more mistakes. By choosing a professional reference, level-matching it, and using tools like Reference 2, Ozone, or Metric AB, you’ll make smarter decisions, save time, and end up with a polished, balanced mix.
👉 Pro tip: Don’t copy your reference 100%—use it as a guide, not a blueprint. Your sound should keep its unique identity.
![]()


