Tools, Methods, and Pitfalls
Mastering is often described as the “final polish” of a track. While mixing focuses on balancing the instruments, mastering ensures your music sounds consistent, powerful, and professional across every playback system—from car stereos to streaming platforms. For independent artists and producers, learning how to master at home can be both rewarding and challenging. This guide explores the essential tools, step-by-step methods, and common mistakes to avoid.
- What Is Mastering, and Why Does It Matter?
- Essential Tools for Home Mastering
- Step-by-Step Mastering Workflow
- 1. Prepare Your Mix
- 2. Critical Listening
- 3. Equalization (EQ)
- 4. Compression
- 5. Stereo Imaging
- 6. Limiting
- 7. Final Checks
- Common Pitfalls in Home Mastering
- Useful Resources and Learning Platforms
- Conclusion
What Is Mastering, and Why Does It Matter?
Mastering is the final step in the music production chain. Its purpose is to:
- Optimize loudness without distortion.
- Balance frequency content.
- Ensure playback compatibility across platforms.
- Create cohesion if the project involves multiple tracks (EPs, albums).
Without mastering, even a great mix can sound dull or uneven compared to professional releases. In the age of Spotify, Apple Music, and Tidal, where loudness normalization is standard, mastering has become more about transparency and clarity than sheer volume.
👉 A helpful introduction can be found on iZotope’s mastering guide.

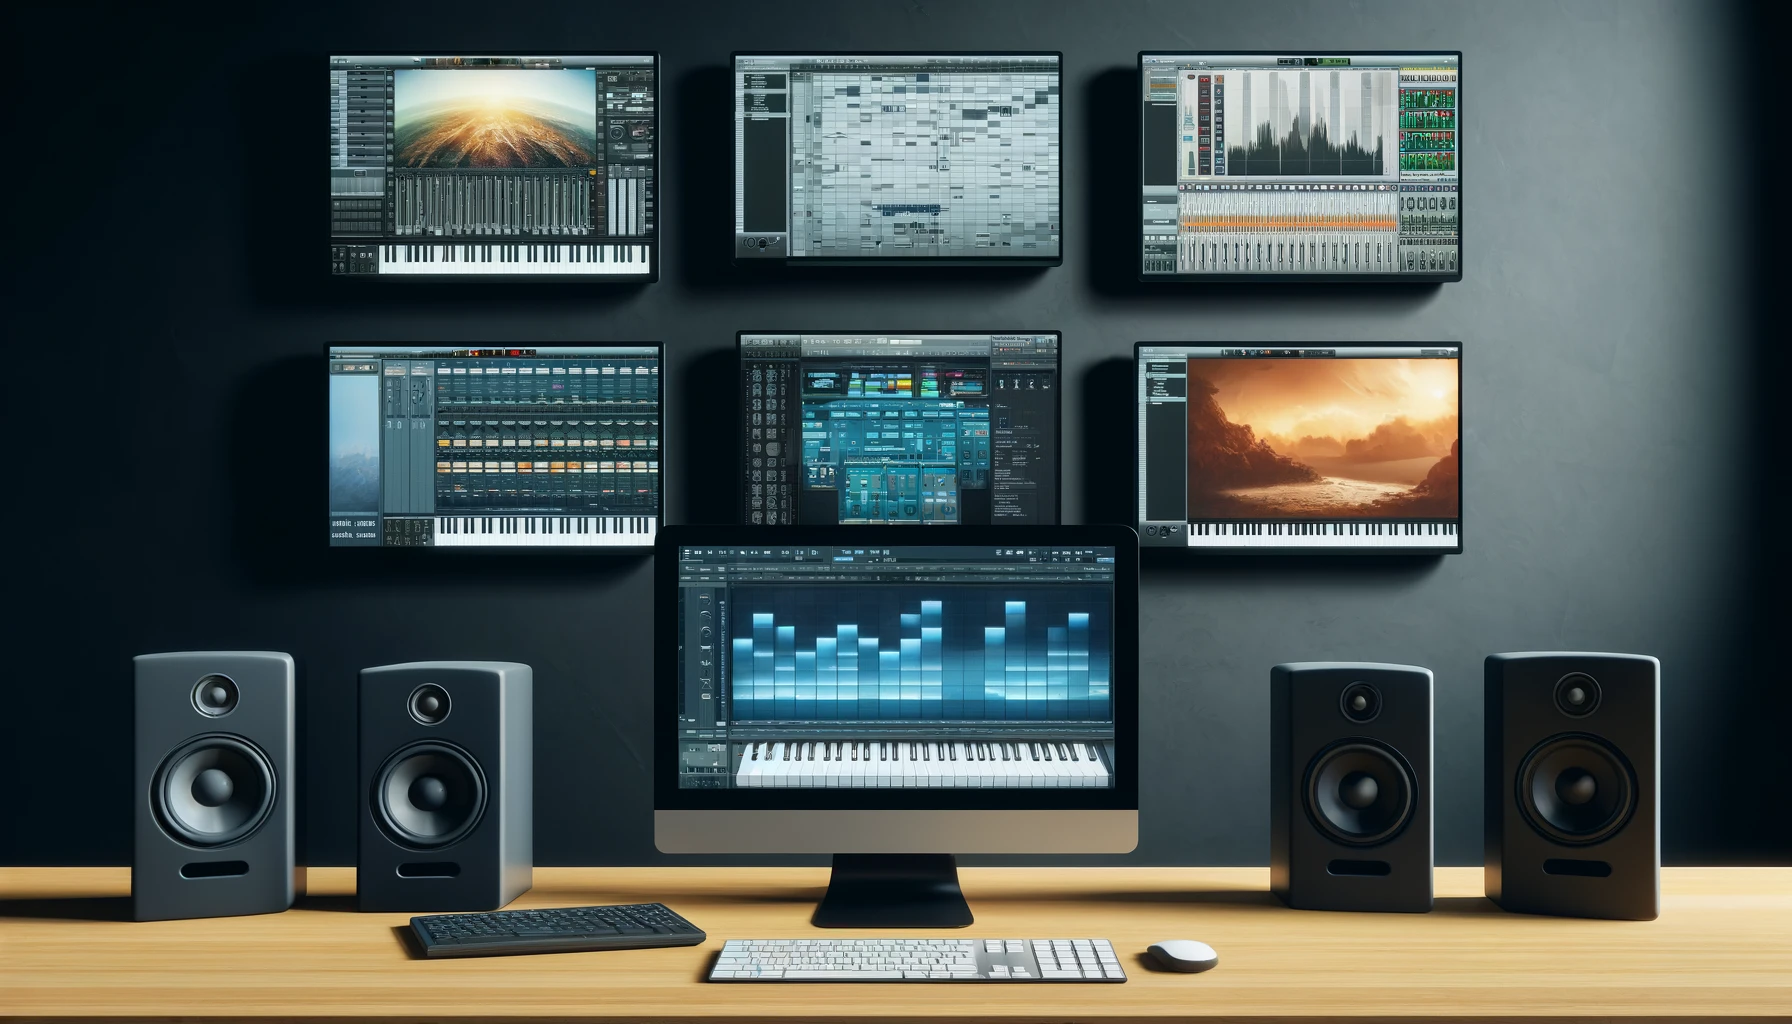
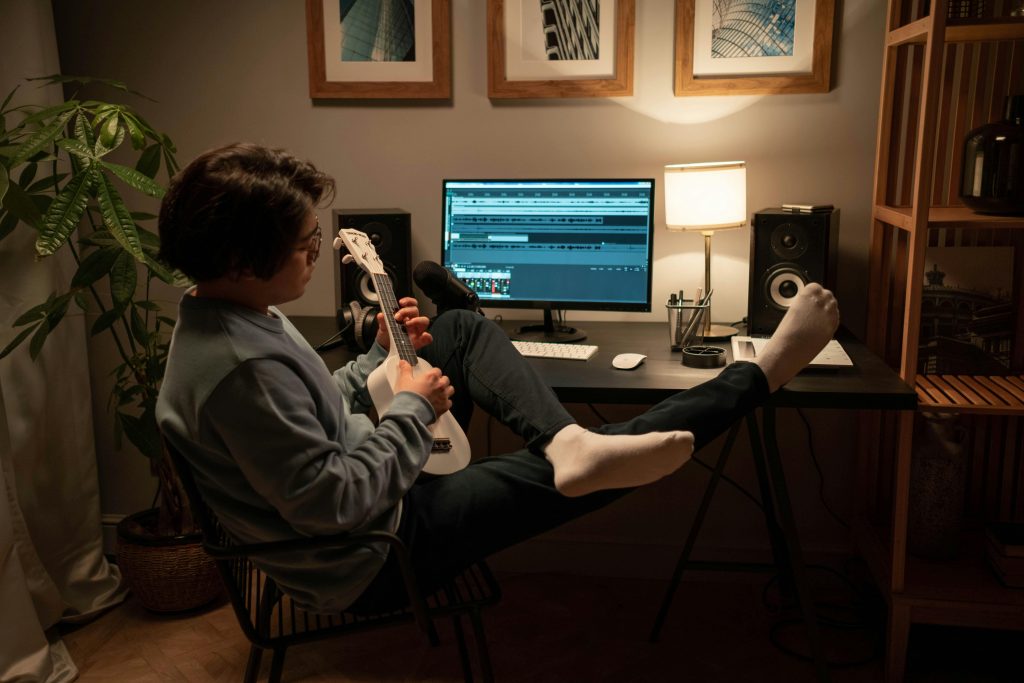
Essential Tools for Home Mastering
Thanks to modern software, you don’t need a million-dollar studio to achieve competitive results. Here are the essentials:
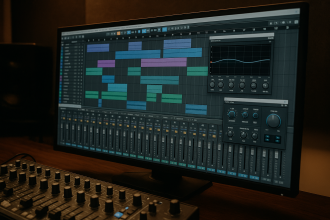
- Digital Audio Workstation (DAW)
- Examples: Studio One, Ableton Live, Logic Pro.
- Your DAW should support high-quality plugins and flexible routing.
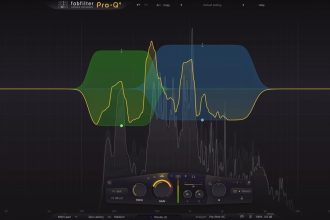
- Mastering Plugins
- EQ: FabFilter Pro-Q 3 for precise tonal balance.
- Compression: The Glue by Cytomic or Ozone Dynamics.
- Limiter: FabFilter Pro-L 2 for final loudness.
- Metering Tools: Youlean Loudness Meter (free & paid versions).
- Monitoring Setup
- Quality studio monitors or trusted headphones like the Sony MDR-7506.
- A properly treated room is a huge advantage. If not possible, use plugins such as Sonarworks SoundID Reference.
- Reference Tracks
- Import professional tracks in the same genre to compare tonal balance, dynamics, and stereo imaging.
Step-by-Step Mastering Workflow
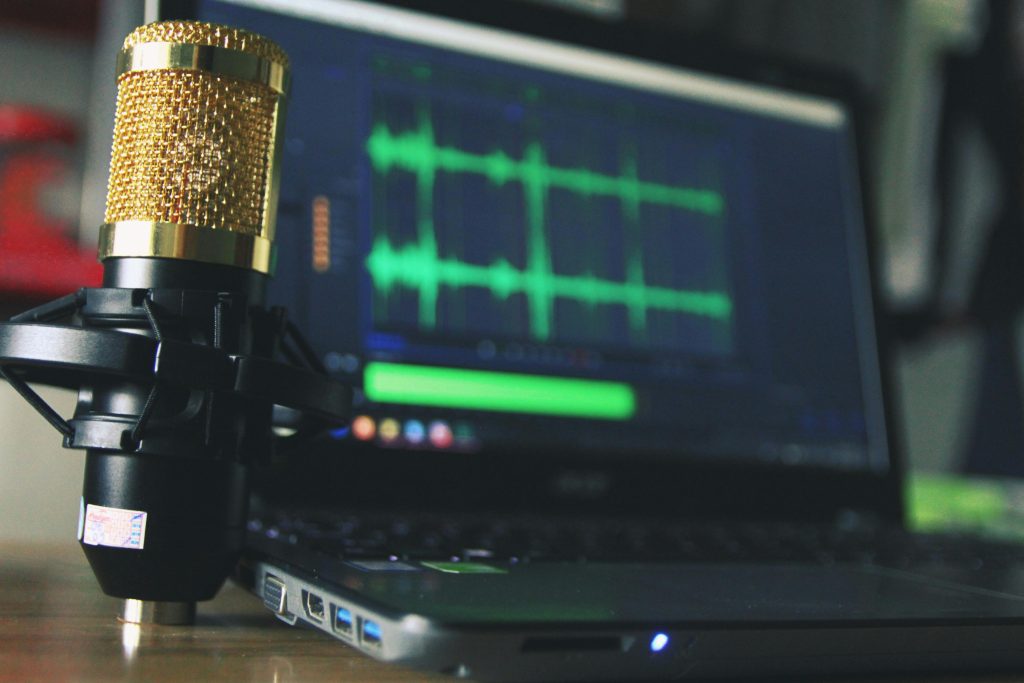
1. Prepare Your Mix
- Export your mix in WAV/AIFF, 24-bit, at the project’s sample rate (44.1 kHz or higher).
- Leave enough headroom (peaks around -6 dB).
2. Critical Listening
- Play your track on different systems: headphones, car speakers, Bluetooth devices.
- Take notes on frequency imbalances or dynamic issues.
3. Equalization (EQ)
- Apply subtle EQ adjustments to correct tonal balance.
- Example: Slight boost around 100 Hz for warmth, gentle cut around 3 kHz if harsh.
4. Compression
- Use light compression (2–3 dB of gain reduction) to glue the mix together.
- Avoid heavy compression, which can crush dynamics.
5. Stereo Imaging
- Carefully widen the stereo field with tools like Ozone Imager.
- Keep low frequencies mono for stability.
6. Limiting
- Use a transparent limiter to raise the overall loudness.
- Aim for around -9 to -11 LUFS for electronic genres, -12 to -14 LUFS for acoustic/indie music.
- Check streaming platform targets on Loudness Penalty.
7. Final Checks
- Compare against reference tracks.
- Bounce multiple versions (16-bit/44.1 kHz for CD, 24-bit/48 kHz or higher for streaming/distribution).
Common Pitfalls in Home Mastering
- Chasing Loudness
- Over-limiting leads to distortion and listener fatigue. Remember that Spotify normalizes to around -14 LUFS.
- Mixing While Mastering
- Don’t fix mix issues at the mastering stage. Go back to the mix if necessary.
- Ignoring Room Acoustics
- Unbalanced rooms can fool your ears. Always cross-check with headphones and references.
- Overusing Stereo Widening
- Too much widening can weaken mono compatibility. Test your track in mono before finalizing.
- Skipping Professional Feedback
- A second set of ears—whether a friend or a mastering engineer—can reveal problems you missed.
Useful Resources and Learning Platforms
- Mastering Academy – professional training courses.
- Produce Like A Pro – tutorials, community, and mixing/mastering tips.
- Sound On Sound – in-depth articles on mastering and audio production.
- LANDR – AI mastering for quick demos or reference versions.
Conclusion
Mastering at home is no longer a distant dream reserved for professionals with analog racks. With the right tools, knowledge, and attention to detail, independent producers can achieve a polished, competitive sound from their bedroom studios.
Still, the golden rule remains: less is more. Subtle, transparent moves almost always win over heavy-handed processing. And when in doubt, trust your ears—and your references.
![]()