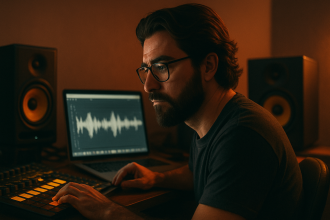
Great sound doesn’t just depend on your gear—it depends on how you use it. One of the most overlooked aspects of a home studio setup is monitor placement. Even high-end monitors like the Yamaha HS8 or Adam A7V will sound inaccurate if they’re poorly positioned. Whether you’re working from a bedroom or a converted office, understanding how to angle, heighten, and support your speakers is critical for a reliable listening environment.
Let’s explore how to properly set up your monitors and what mistakes to avoid if you want your mixes to translate everywhere.
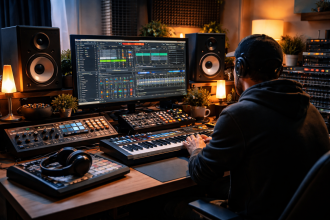
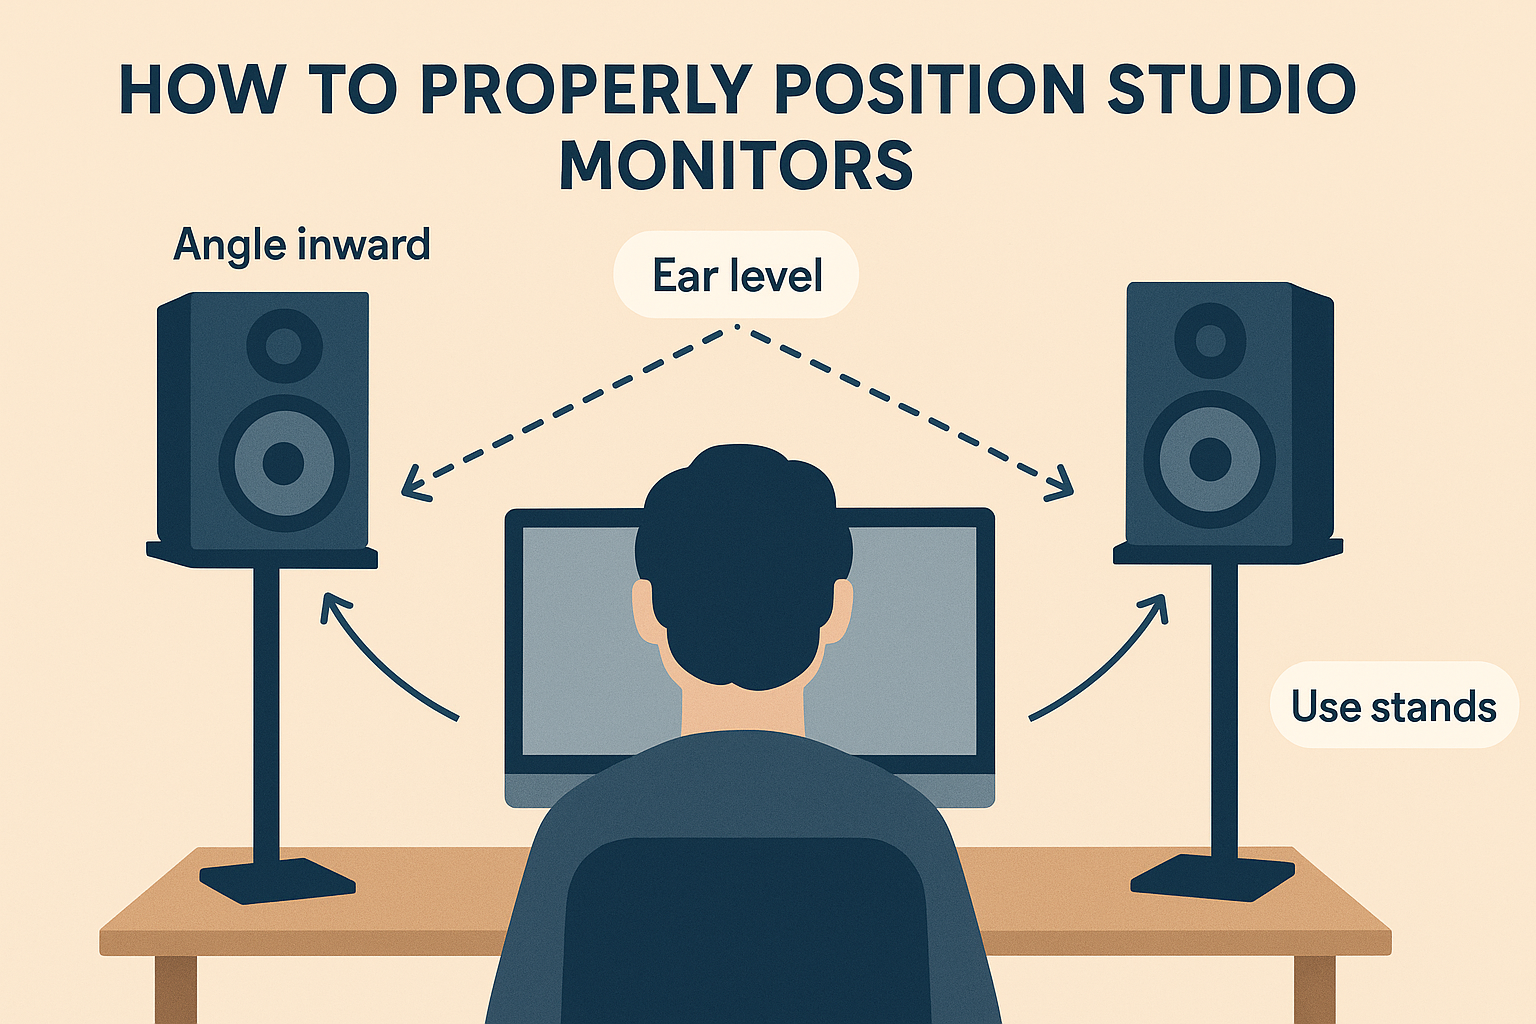
1. The Ideal Listening Triangle: Angle & Distance
Your monitors should form an equilateral triangle with your head as one of the points. This ensures stereo imaging is accurate and that both ears receive the sound evenly.
- Angle inward: Tilt your monitors inward by 30 to 45 degrees, so they directly face your ears.
- Distance: The distance between the monitors should be the same as the distance from each monitor to your ears—usually about 3 to 5 feet (1–1.5 meters).
- Ear level: The tweeters (not the woofers) must align with your ears while you’re in your mixing position.
Products like the IsoAcoustics ISO-155 or the Gravity SP 3102 are excellent for fine-tuning height and direction.
2. Height and Tilt: Align with the Sweet Spot
Your monitors’ tweeters should sit at the same height as your ears when you’re seated in your main listening position. If they’re too high or too low, the frequency balance—especially in the mid and high range—will be off.
- Too high? Use angled foam pads or adjustable stands.
- Too low? Consider wall mounting or shelf positioning with tilt support.
The Primacoustic RX7 Recoil Stabilizer combines height and decoupling to improve clarity and imaging.
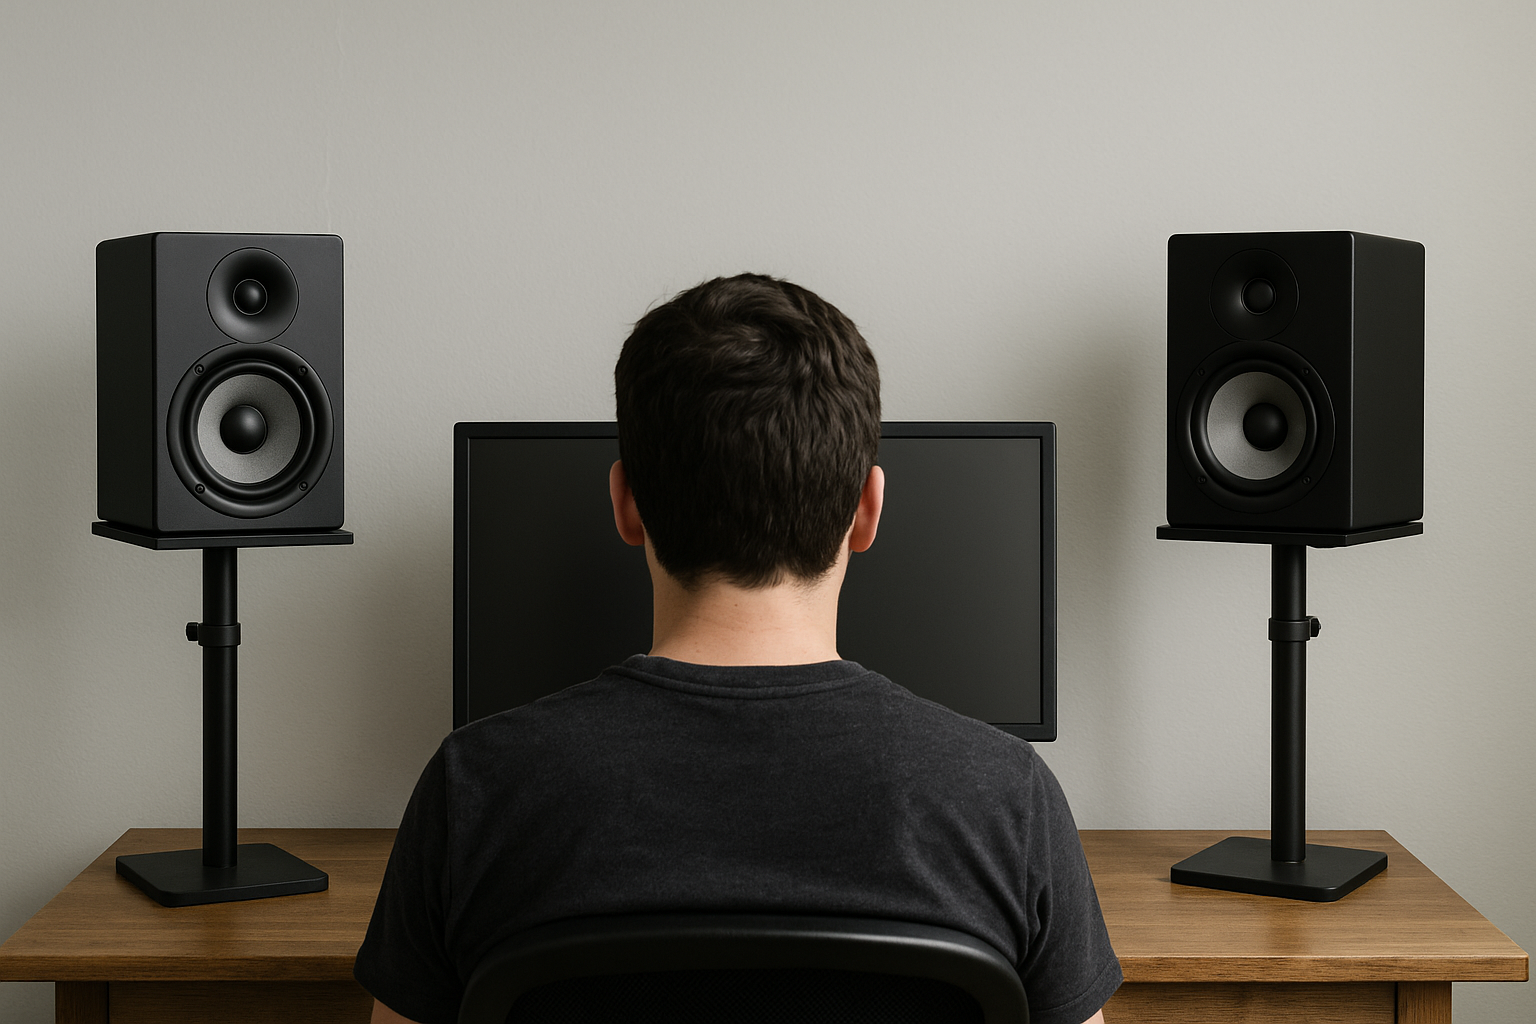
3. Stands vs. Desk: Why Isolation Matters
Resting your monitors directly on a desk is one of the biggest mistakes home producers make. Flat surfaces reflect audio, which causes phase cancellation and inaccurate bass response. Always aim to decouple your monitors using:
- Isolation pads (e.g., Auralex MoPADs)
- Adjustable floor stands with acoustic damping
- Wall-mounted brackets with swivel control for angle adjustment
These tools reduce vibration and prevent energy transfer from the speaker to the surface, improving your low-end response dramatically.
4. Common Mistakes to Avoid
- Don’t place monitors directly against the wall. Leave at least 30–60 cm of space behind them to avoid bass buildup and early reflections.
- Don’t mismatch monitor orientation. Both monitors should be angled identically and placed symmetrically in the room.
- Avoid corners. Placing monitors near walls or corners over-emphasizes low frequencies.
- Don’t skip room treatment. Even perfectly placed monitors will underperform in untreated spaces.
Check your symmetry too—if one monitor is closer to a wall or furniture, the frequency response will shift. Measure your layout precisely using free tools like Room EQ Wizard or Sonarworks SoundID Reference for calibration.
5. Calibrate for Your Room
After positioning, calibrate your speakers using pink noise or room analysis software. This ensures a flat response in your listening zone. Add a reference mic and analyze reflections, delays, and room modes—especially if you’re mixing with accuracy in mind.
Conclusion
Proper monitor placement in a home studio isn’t optional—it’s essential. By dialing in the angle, height, and support of your speakers and avoiding common setup mistakes, you’ll unlock a new level of accuracy in your productions. Your ears—and your final masters—will thank you.
![]()