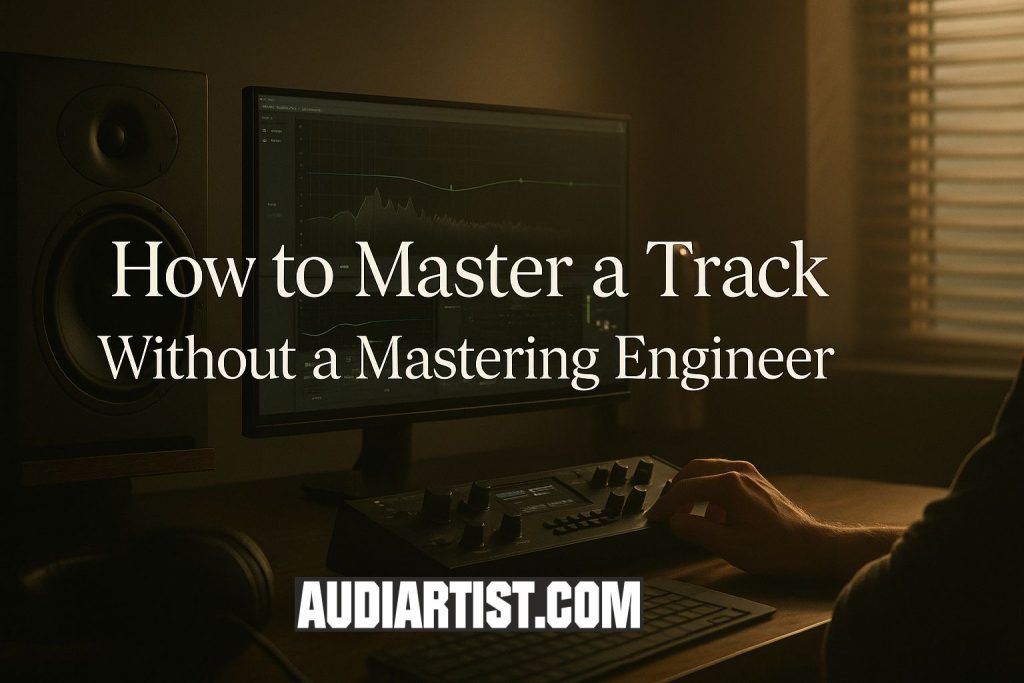
Mastering is often viewed as the sacred final step in music production — a mysterious process handled only by seasoned professionals with golden ears and analog gear worth thousands of dollars. But in today’s digital landscape, independent producers can achieve professional-level masters from their own studios, provided they understand the principles behind it.
- 1. Understand What Mastering Really Is
- 2. Prepare the Perfect Mix Before Mastering
- 3. Start with a Reference Track
- 4. EQ: Correct the Tonal Balance
- 5. Compression: Glue, Don’t Squash
- 6. Stereo Imaging: Width with Caution
- 7. Limiting: The Final Touch
- 8. Check Your Master Everywhere
- 9. Optional: Use AI or Plugin Suites as Helpers
- Final Thoughts
Here’s how to master your own track without a mastering engineer — the right way.
1. Understand What Mastering Really Is
Mastering is not about making your track louder. It’s about balance, translation, and consistency. The goal is to ensure your mix sounds great on every system — from a car stereo to a streaming playlist or a festival sound system.
A mastering engineer typically focuses on:
- Correcting tonal balance (EQ)
- Controlling dynamics (compression/limiting)
- Adjusting stereo width
- Matching loudness standards
- Adding the final polish for distribution
When self-mastering, you’ll perform all of these tasks with precision — just in a more minimal, reference-based approach.
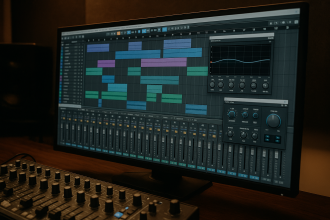
2. Prepare the Perfect Mix Before Mastering
The best masters start with excellent mixes. Don’t try to fix problems in the mastering stage that should have been handled earlier.
Before exporting your mix for mastering:
- Leave 3–6 dB of headroom (your master bus should peak around -6 dBFS).
- Remove any limiter or maximizer on the master bus.
- Bounce your mix in 24-bit WAV (48 kHz or 44.1 kHz).
This ensures you have a clean, dynamic mix to work from.
3. Start with a Reference Track
Compare your mix to professionally mastered songs in your genre. Import one directly into your DAW and level-match it (reduce its volume to match your mix).
Ask yourself:
- Is my mix too dull or too bright?
- Is the low end controlled or overpowering?
- Does my track feel as wide and punchy as the reference?
Using reference tracks is the easiest way to train your ears and achieve commercial-level balance.
4. EQ: Correct the Tonal Balance
Use a transparent EQ to make subtle adjustments to the overall mix. The key word here is subtle. Mastering EQ is about tiny changes, typically between ±1 dB and ±2 dB.
Recommended EQ Plugins:
- 🎚 FabFilter Pro-Q 3 → fabfilter.com/pro-q-3
Transparent and surgical, ideal for micro adjustments and mid/side processing. - 🎧 Voxengo CurveEQ → voxengo.com/product/curveeq/
Features spectrum matching, letting you visually compare your mix to reference tracks. - 🎛 TDR SlickEQ Mastering Edition → tokyodawn.net/tdr-slickeq-m/
A free, mastering-grade EQ that adds subtle analog character without coloring the sound too much.
Focus on removing problematic build-ups (e.g., low-mid muddiness around 250 Hz) and smoothing high-end harshness.
5. Compression: Glue, Don’t Squash
Compression in mastering isn’t about pumping or loudness — it’s about cohesion. Use gentle ratios (1.2:1 to 2:1) and aim for 1–2 dB of gain reduction on peaks.
Recommended Compressors:
- ⚙️ iZotope Ozone Dynamics → izotope.com/en/products/ozone.html
A multiband compressor that gives you total control over specific frequency ranges. - 🧠 Klanghelm MJUC → klanghelm.com/contents/products/MJUC.php
Analog-style compression with smooth harmonics — great for adding warmth and cohesion. - 🔊 Waves SSL G-Master Buss Compressor → waves.com/plugins/ssl-g-master-buss-compressor
Classic « glue » compressor that adds punch and tightness to your mix.
6. Stereo Imaging: Width with Caution
A well-mastered track often feels open and wide, but too much stereo widening can ruin mono compatibility.
Recommended Tools:
- 🌍 Brainworx bx_stereomaker → plugin-alliance.com/en/products/bx_stereomaker.html
Great for adding controlled width without phasing issues. - 🪩 Ozone Imager (Free) → izotope.com/en/products/ozone-imager.html
Excellent free tool to visualize and control your stereo field safely.
Keep low frequencies mono (below 100 Hz) and apply stereo width mainly to high mids and highs.
7. Limiting: The Final Touch
Your limiter is the last tool in the chain. Its job is to bring your mix up to competitive loudness levels — without distortion.
Set the output ceiling to -1 dB (for streaming services like Spotify, Apple Music, and YouTube) and aim for an integrated LUFS around -14.
Recommended Limiters:
- 🔒 FabFilter Pro-L 2 → fabfilter.com/pro-l-2
Industry-standard precision limiter with LUFS metering and transparent sound. - 🚀 iZotope Ozone Maximizer → izotope.com/en/products/ozone.html
Offers different limiting algorithms tailored for streaming and CD mastering. - 🎚 LoudMax (Free) → loudmax.blogspot.com
A simple, highly effective free limiter that maintains dynamics beautifully.
8. Check Your Master Everywhere
Once you’re happy, export your master and listen on multiple systems:
🎧 studio monitors, 📱 headphones, 🚗 car speakers, 🔊 smart speakers.
If it sounds balanced everywhere, congratulations — your self-mastering worked.
9. Optional: Use AI or Plugin Suites as Helpers
If you’re new to mastering, intelligent tools can help you learn.
- 🤖 iZotope Ozone Master Assistant — Automatically suggests EQ, compression, and limiting settings.
- 🎚 Mastering The Mix BASSROOM & REFERENCE 2 — Helps match tonal balance to professional masters.
- 🧩 LANDR Plugin or Cloud Mastering — Fast AI-powered mastering, great for comparing results.
Use them as learning aids, not shortcuts — your ears are still the best tool you have.
Final Thoughts
Mastering your own track is a mix of science and sensitivity. The goal isn’t to mimic an engineer’s $10,000 setup, but to understand what makes a mix sound balanced and polished.
With the right tools, references, and attention to detail, you can create masters that hold their own against commercial releases — all from your home studio.
Because in the end, mastering isn’t about magic.
It’s about listening deeper.
![]()


