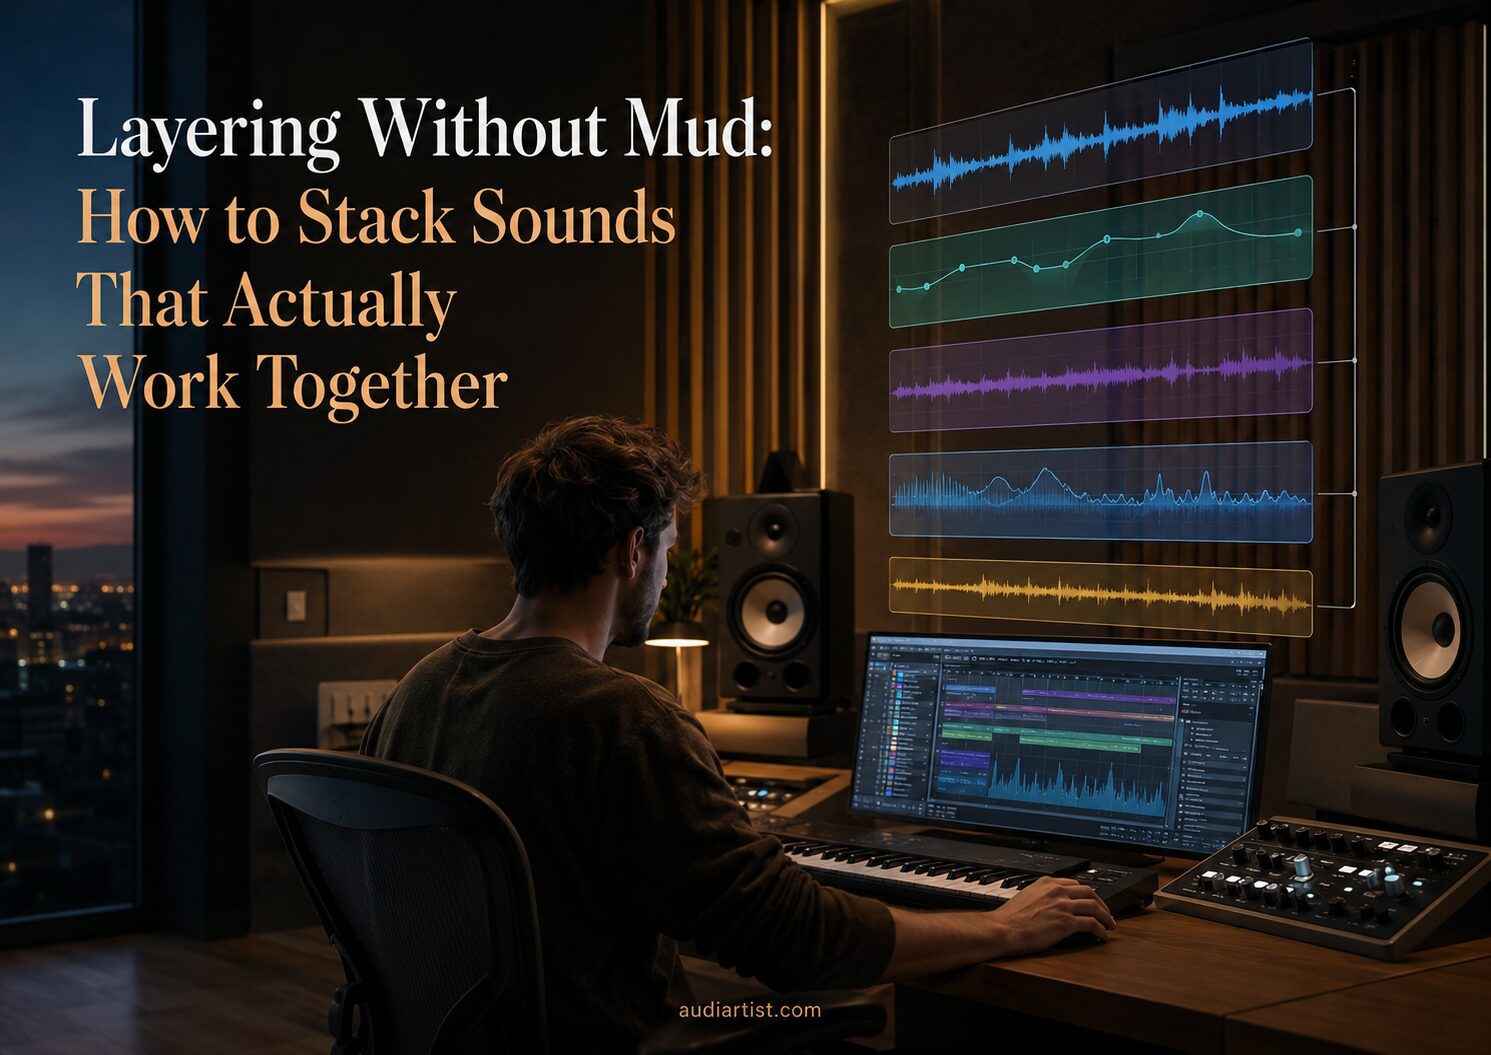

`Layering is one of the fastest ways to make a production sound bigger, richer, wider, deeper, and more professional. It is also one of the fastest ways to destroy a mix before the mix even begins.
This is the problem with bad layering: it creates density without purpose.
Good layering is not about stacking similar sounds until they feel louder. It is about combining different roles into one stronger musical result. One layer might add attack. Another might add body. Another might add texture. Another might add width. Another might add sustain. Each layer must justify its existence.
Layering without mud means understanding frequency space, timing, phase, envelope, stereo placement, dynamics, and arrangement role before reaching for another track. It is not about making the session bigger. It is about making the sound clearer, stronger, and more intentional.
What Layering Really Means
Layering means combining two or more sounds to create one perceived musical element. That element could be a kick, snare, clap, bass, pad, lead, vocal stack, percussion group, chord sound, texture, or FX moment.
The important phrase is “one perceived musical element.”
If the listener hears one powerful kick, layering worked. If the listener hears three kicks fighting in a dark alley, layering failed. If the listener hears one rich lead, layering worked. If the listener hears several synths arguing for attention, layering failed.
Layering should create unity, not confusion.
A good layer usually has a clear job:
- Attack: the transient, click, snap, bite, or first impact.
- Body: the weight, warmth, fullness, or midrange strength.
- Sub: the deep foundation.
- Texture: noise, character, grit, air, or imperfection.
- Width: stereo size or side information.
- Sustain: length, tail, emotion, or continuation.
- Color: tonal identity, harmonic flavor, or style.
Before adding a layer, ask what job it performs. If the answer is “it sounds cool,” listen again in context. Cool is not enough. Useful is better.
The Mud Problem
Mud happens when sounds overlap in ways that reduce clarity. It often lives in the low-mid range, but mud is not only a frequency issue. It can also come from timing, stereo clutter, phase problems, excessive sustain, too much reverb, or layers doing the same job.
Common mud sources include:
- Multiple low-end layers playing at the same time.
- Kick and bass tails overlapping too long.
- Several pads filling the low mids.
- Layered snares with mismatched timing.
- Wide bass layers creating phase issues.
- Reverb tails stacking in the same frequency range.
- Leads and vocals fighting in the midrange.
- Too many textures with no clear role.
The beginner solution is often EQ. The better solution is arrangement and sound selection first, then EQ.
If two sounds are fighting for the same role, cutting frequencies may help, but removing one layer may help more. Mud is often not a technical accident. It is a decision problem.
The One Role Per Layer Rule
The cleanest layering starts with one rule: every layer needs one main role.
For example, a layered snare might use:
- One layer for transient snap.
- One layer for body.
- One layer for room or tail.
A layered bass might use:
- One mono sub layer for foundation.
- One midrange layer for translation on small speakers.
- One subtle texture layer for character.
A layered lead might use:
- One main center sound for melody.
- One quiet octave layer for thickness.
- One wider texture layer for size.
When two layers do the same job, one of them is probably unnecessary. If both layers provide attack, the transient may become sharp or messy. If both provide low mids, the sound becomes muddy. If both provide width, the center may disappear.
Layering is not democracy. Not every sound gets equal power.
Layer in Context, Not in Solo
Solo mode is where bad layering is born wearing nice shoes.
A layered sound can feel impressive alone and fail in the track. A huge stacked kick may sound enormous by itself, then leave no space for the bass. A layered pad may sound cinematic alone, then bury the lead. A wide synth stack may feel expensive in solo, then collapse in mono or fight the vocal.
Always layer while the full groove is playing.
Use solo mode only to inspect problems. Make decisions in context. The listener does not hear your kick alone, your pad alone, or your lead alone. The listener hears the record.
A layer that sounds small in solo may be perfect in the mix. A layer that sounds huge alone may be the reason your mix feels like wet cardboard with ambition.
Useful Tool: Voxengo SPAN
Voxengo SPAN is a free spectrum analyzer that helps producers see frequency distribution, low-end buildup, stereo behavior, and overall tonal balance. It is especially useful when layering because it can reveal when two sounds are stacking too much energy in the same area.
Use it for: checking low-end overlap, comparing layers, spotting low-mid buildup, watching how layers change the full mix, checking stereo correlation.
Layering tip: Play the main sound alone, then add the layer while watching and listening. If the analyzer shows a large buildup in the same frequency area but the sound does not feel musically better, the layer may only be adding mud.
Official website
Download Voxengo SPAN
Layering Kicks Without Losing Punch
Kick layering is common in electronic music, hip-hop, pop, EDM, house, techno, trap, and cinematic production. It can create a stronger kick, but it can also create phase problems, flabby low end, and weak impact.
A clean kick layer usually combines different roles:
- Click layer: gives attack and small-speaker presence.
- Body layer: gives punch and low-mid weight.
- Sub layer: gives deep low-end foundation.
The mistake is stacking three full kicks together. Each kick already contains attack, body, and low end. When several full kicks overlap, they may cancel, smear, or overload the low end.
Instead, choose layers for specific zones.
Kick Layering Checklist
- Choose one main kick as the foundation.
- Add only what the main kick lacks.
- High-pass the click layer if it does not need low end.
- Shorten tails so they do not fight the bass.
- Align the transients carefully.
- Check phase and polarity.
- Listen with the bass, not in solo.
- Commit the layered kick to audio when it works.
If the layered kick sounds bigger alone but weaker with the bass, the layering is not working.
Layering Snares and Claps
Snare and clap layering can add power, width, body, and character. It is also easy to overdo.
A strong snare or clap stack usually has clear separation:
- A tight transient layer for snap.
- A body layer for weight.
- A noise or clap layer for width.
- A room or tail layer for space.
The most important detail is timing. If the layers start at slightly different moments, the snare can become flammy or weak. Sometimes that looseness is musical, especially in hip-hop, lo-fi, or organic genres. But if the goal is punch, transients need to be aligned.
Also check length. A long clap tail can cover the next groove element. A wide noise layer can make the snare feel impressive but reduce focus. A low-mid heavy snare layer can make the whole drum bus muddy.
Snare and Clap Layering Tips
- Keep the main transient clear.
- Use one layer for width, not three.
- Remove unnecessary low end from clap and noise layers.
- Keep ghost notes softer than main hits.
- Check the snare with bass and chords active.
- Use reverb send instead of multiple wet samples when possible.
The snare or clap should feel like one hit. If it sounds like a small percussion committee, simplify it.
Layering Bass Without Destroying the Low End
Bass layering is powerful, but dangerous. The low end is where phase, masking, and translation problems become obvious.
The safest approach is to separate the bass into roles:
- Sub layer: mono, clean, stable, low-frequency foundation.
- Mid layer: audible character on smaller speakers.
- Texture layer: grit, noise, distortion, movement, or stereo detail.
The sub layer should usually stay mono and controlled. The mid layer can carry more harmonic information. The texture layer should often be filtered so it does not interfere with the sub.
Never assume a layered bass is better because it is louder. Level-match before comparing. Louder bass almost always feels more exciting for a few seconds, like a bad decision with confidence.
Bass Layering Checklist
- Keep the sub clean and centered.
- High-pass mid and texture layers if needed.
- Check phase between layers.
- Use the same MIDI or tightly controlled timing unless contrast is intentional.
- Shorten releases to protect groove.
- Listen on small speakers to check midrange translation.
- Mute the texture layer to see if it actually helps.
- Check the bass with the kick at low volume.
A strong bass layer should make the bass more audible and expressive, not just larger and blurrier.
Useful Tool: TDR Nova
TDR Nova is a free dynamic EQ that can help control masking between layers. It works as a clean parametric EQ, but each band also includes dynamic control, which makes it useful when certain frequencies become too strong only at specific moments.
Use it for: reducing low-mid buildup, controlling harshness in layered leads, taming bass midrange, cleaning pads, managing competing layers.
Layering tip: Use TDR Nova on a layer that only causes problems when it plays with another sound. For example, reduce low mids dynamically on a pad when the lead enters, or control harshness on a stacked synth only when both layers peak together.
Official website
Download TDR Nova Free
Layering Leads Without Losing the Hook
Lead layering can make a hook feel larger, richer, and more memorable. But the main lead must stay clear. If the listener cannot identify the melodic center, the layer stack is too crowded.
A lead layer should support the hook, not compete with it.
Useful lead layering roles include:
- Main lead in the center.
- Quiet octave layer for thickness.
- Softer wide layer for size.
- Texture layer for color.
- Short attack layer for presence.
- Delayed or reverb layer for depth.
The most common mistake is stacking multiple leads with similar brightness and midrange. They all fight for attention, and the hook becomes less memorable.
Try this instead: choose one sound as the lead voice. Everything else should be quieter, filtered, panned, delayed, or simplified.
Lead Layering Tips
- Keep one main lead clearly dominant.
- Use volume hierarchy between layers.
- Pan or widen support layers, not the main hook.
- Remove low mids from texture layers.
- Avoid too much detuning if the melody needs clarity.
- Use octave layers carefully, especially in busy arrangements.
- Mute the support layers and check if the hook still works.
A great lead stack should make the hook feel stronger. If it makes the melody harder to understand, it is not helping.
Layering Pads and Atmospheres
Pads and atmospheres are where mud often sneaks into a production quietly, wearing a beautiful preset name.
A pad may sound gorgeous alone, but it can fill low mids, stereo sides, reverb space, and harmonic density all at once. Add a second pad, a noise bed, a shimmer texture, and a field recording, and suddenly the track feels deep but unreadable.
Pad layering should be treated like orchestration. Each layer needs a register, color, and role.
Useful pad layer roles:
- Low warmth layer.
- Mid harmonic layer.
- High air layer.
- Movement layer.
- Noise or texture layer.
- Reverb or tail layer.
But not every section needs all of them. In fact, most do not.
Pad Layering Tips
- High-pass pads that do not need low end.
- Use fewer notes in dense chord voicings.
- Keep only one major movement layer at a time.
- Control reverb tails so they do not stack endlessly.
- Make pads quieter than you think.
- Use automation instead of adding another atmosphere.
- Mute pads when the lead or vocal needs focus.
A good pad layer creates depth. A bad pad layer creates fog. Fog can be cinematic, but nobody wants to mix inside it forever.
Layering Vocals and Vocal Chops
Vocal layering is one of the most effective ways to create emotion and width, but it requires careful hierarchy. Whether you are working with sung vocals, spoken phrases, vocal chops, chants, ad-libs, or sampled voices, the main idea must remain understandable.
Common vocal layer roles include:
- Main vocal or main chop.
- Double layer for thickness.
- Harmony layer for emotion.
- Octave layer for weight or lift.
- Whisper or texture layer.
- Wide backing layer.
- Delay or reverb throw.
The key is to separate the center from the sides. Keep the main vocal or main chop focused. Place support layers lower, wider, darker, or more reverberant.
Vocal Layering Tips
- Keep the main vocal or chop dominant.
- Lower backing layers more than expected.
- Remove low-mid buildup from doubles.
- Use panning for backing layers, not for the main vocal.
- Use timing differences intentionally.
- Clean sibilance if layers create harshness.
- Automate support layers between sections.
Vocal layers should make the emotional message larger, not bury it under harmony soup.
Phase: The Invisible Layering Problem
Phase problems happen when waveforms interact in ways that reduce or change the sound. This is especially important when layering kicks, snares, basses, and similar sounds.
Phase issues can make a layered sound feel weaker, thinner, hollow, or unstable, even if each layer sounds good alone.
Signs of phase problems include:
- The layered sound becomes quieter instead of bigger.
- The low end disappears when layers play together.
- The sound changes dramatically in mono.
- The transient loses punch.
- The stereo image feels unstable.
- The layer sounds better when one part is muted.
Fixing phase can be simple. Try moving one layer slightly earlier or later. Flip polarity if needed. Shorten tails. Use fewer similar layers. Check in mono. Listen at low volume.
Phase is not glamorous, but it can decide whether layering works or fails.
Useful Tool: MAnalyzer
MAnalyzer by MeldaProduction is a free spectrum analyzer available through the MFreeFXBundle ecosystem. It can help producers study frequency content, compare layers, and understand where sounds are overlapping.
Use it for: spectral analysis, frequency comparison, checking layer buildup, visualizing tonal balance, studying how different sounds combine.
Layering tip: Use MAnalyzer to compare the main layer and support layer separately, then together. If both sounds dominate the same frequency zone and the combined result does not feel clearer, change the layer’s role or remove it.
Official website
Download via MPluginManager
Envelope Matching: The Secret to Clean Layers
Layering is not only about frequency. It is also about envelope: attack, decay, sustain, and release.
If two layers have different attacks, the transient may smear. If one layer has a long release, it may cover the next note. If a texture layer sustains too long, it may make the arrangement feel crowded. If a bass layer has a slower attack than the sub, the groove can feel late.
Envelope decisions shape clarity.
Ask:
- Which layer creates the attack?
- Which layer creates the body?
- Which layer creates the tail?
- Does the tail interfere with the next beat?
- Does the layer stop when the groove needs space?
- Is the release too long for the arrangement?
Sometimes the cleanest layering move is not EQ. It is shortening a release by 200 milliseconds.
Stereo Placement: Center and Sides
Stereo placement is essential for clean layering. If every layer lives in the center, the sound may become crowded. If every layer is wide, the sound may lose focus.
A reliable approach is:
- Main layer in the center.
- Support layers lower or wider.
- Low-end layers mono.
- Texture layers panned or widened carefully.
- Reverb and delay in controlled stereo space.
This creates a clear hierarchy. The listener knows where the main sound lives, while the support layers create size around it.
Be careful with widening plugins on layered bass or low-mid pads. Wide low frequencies can create mono compatibility problems and reduce punch.
Layering With EQ: Carve, Do Not Butcher
EQ is important in layering, but it should not be used like a rescue axe. The goal is not to carve every layer until it sounds tiny. The goal is to make each layer fit its role.
Basic EQ strategies:
- High-pass layers that do not need low end.
- Low-pass layers that only add body.
- Reduce low mids from pads and backing layers.
- Control harshness in stacked leads.
- Remove clashing frequencies from texture layers.
- Keep the main sound fuller than support layers.
Do not over-EQ every layer in solo. A support layer can sound strange alone and perfect in context. Layering is about the combined result.
Useful Tool: Kilohearts Essentials
Kilohearts Essentials is a free collection of practical effects including filters, gain, delay, chorus, distortion, dynamics, stereo, transient shaping, and other useful tools. Its simplicity makes it useful for quick layer shaping.
Use it for: filtering support layers, adding subtle distortion, shaping stereo movement, controlling transients, creating texture layers.
Layering tip: Use simple filters and gain tools before reaching for complex chains. Many layering problems can be solved by lowering, filtering, or shortening one layer.
Official website
Download Kilohearts Installer
Layering by Genre
House and Tech House
Layer kicks and claps carefully. Keep the low end centered and controlled. Use percussion layers for movement, but avoid overcrowding the groove. Bass layering should prioritize club clarity and translation.
Afro House and Organic House
Layer percussion by role: shaker movement, hand drum body, rim accents, bell color, vocal texture. Keep each layer in conversation with the groove. Avoid stacking too many low-mid percussion sounds.
Trap and Hip-Hop
Layer 808s with caution. Keep the sub clean and use midrange distortion or texture for translation. Snare and clap stacks should hit hard without becoming messy. Melody layers should leave space for vocals.
Lo-Fi
Layer with softness and restraint. Warmth can become mud quickly. Use noise, texture, tape-style movement, and soft keys carefully. Keep the emotional core clear.
Synthwave
Layer pads, arps, and leads for cinematic width, but keep the bass pulse and drums focused. Retro atmosphere works best when the main hook remains clear.
Cinematic and Ambient Music
Layering can be rich and evolving, but density must be controlled over time. Use register, depth, stereo placement, and automation to avoid a constant wall of sound.
The 15-Minute Layer Cleanup Exercise
Open a project with layered sounds that feel muddy. Choose one stack: kick, bass, lead, pad, vocal, or drums. Spend 15 minutes cleaning it.
Minute 1 to 3: Identify the Main Layer
Choose the layer that carries the core identity. Everything else must support it.
Minute 4 to 6: Assign Roles
Name each support layer’s job: attack, body, sub, width, texture, sustain, or color. If a layer has no clear role, mute it.
Minute 7 to 9: Fix Timing and Envelope
Align transients where needed. Shorten tails. Adjust release. Make sure the layers stop when the groove needs space.
Minute 10 to 12: Clean Frequencies
High-pass, low-pass, or reduce clashing ranges only where needed. Listen in context.
Minute 13 to 15: Check Mono and Compare
Listen in mono, then stereo. Compare the cleaned stack with the original. The better version should feel clearer, not just louder.
The Layering Checklist
Before keeping a layer, ask:
- What role does this layer perform?
- Does it improve the track in context?
- Is it adding clarity, or only volume?
- Does it overlap too much with another layer?
- Is the timing aligned?
- Is the phase relationship healthy?
- Does the envelope fit the groove?
- Does the layer create low-mid mud?
- Does it collapse in mono?
- Does the track become better when it is muted?
If the track sounds better without the layer, delete it. The delete key remains one of the best mixing tools ever invented, and it still has no subscription plan.
Common Layering Mistakes
Stacking Similar Sounds
If two sounds have the same role, frequency range, envelope, and stereo position, they may create clutter instead of power.
Layering Before Choosing the Right Source
A weak sound does not always need a layer. Sometimes it needs to be replaced.
Ignoring Phase
Phase problems can make a layered sound weaker than one clean layer.
Making Every Layer Too Loud
Support layers should support. They do not all need equal importance.
Forgetting the Arrangement
A layer that works in the chorus may not be needed in the verse. Automate or mute layers by section.
Using Reverb on Every Layer
Multiple wet layers can blur the sound. Use sends and shared spaces when possible.
Final Thoughts: Bigger Is Not Always Better
Layering is powerful because it can transform simple sounds into something richer, stronger, and more memorable. But layering only works when every sound has a role.
Do not stack because the track feels insecure. Stack because the sound needs attack, body, width, texture, sustain, or color. Choose one main layer. Support it carefully. Clean the frequencies. Align the timing. Shape the envelope. Check phase. Use stereo placement with intention. Mute layers that do not help.
The goal is not to create the biggest stack. The goal is to create one clear, powerful musical result.
Layering without mud is not about having more sounds. It is about making the right sounds work together.