
The drums are in time. The bass is solid. The chords support the track. The lead is clear. The mix is not terrible. Nothing is obviously broken. And yet, after a few seconds, the music feels like it is standing still in a very well-organized room.
This is where beginner producers often add more sounds. Another percussion loop. Another pad. Another vocal chop. Another texture. Another riser. Another layer that promises movement but mostly adds clutter. The track becomes busier, but not more alive.
The missing ingredient is often micro-automation.
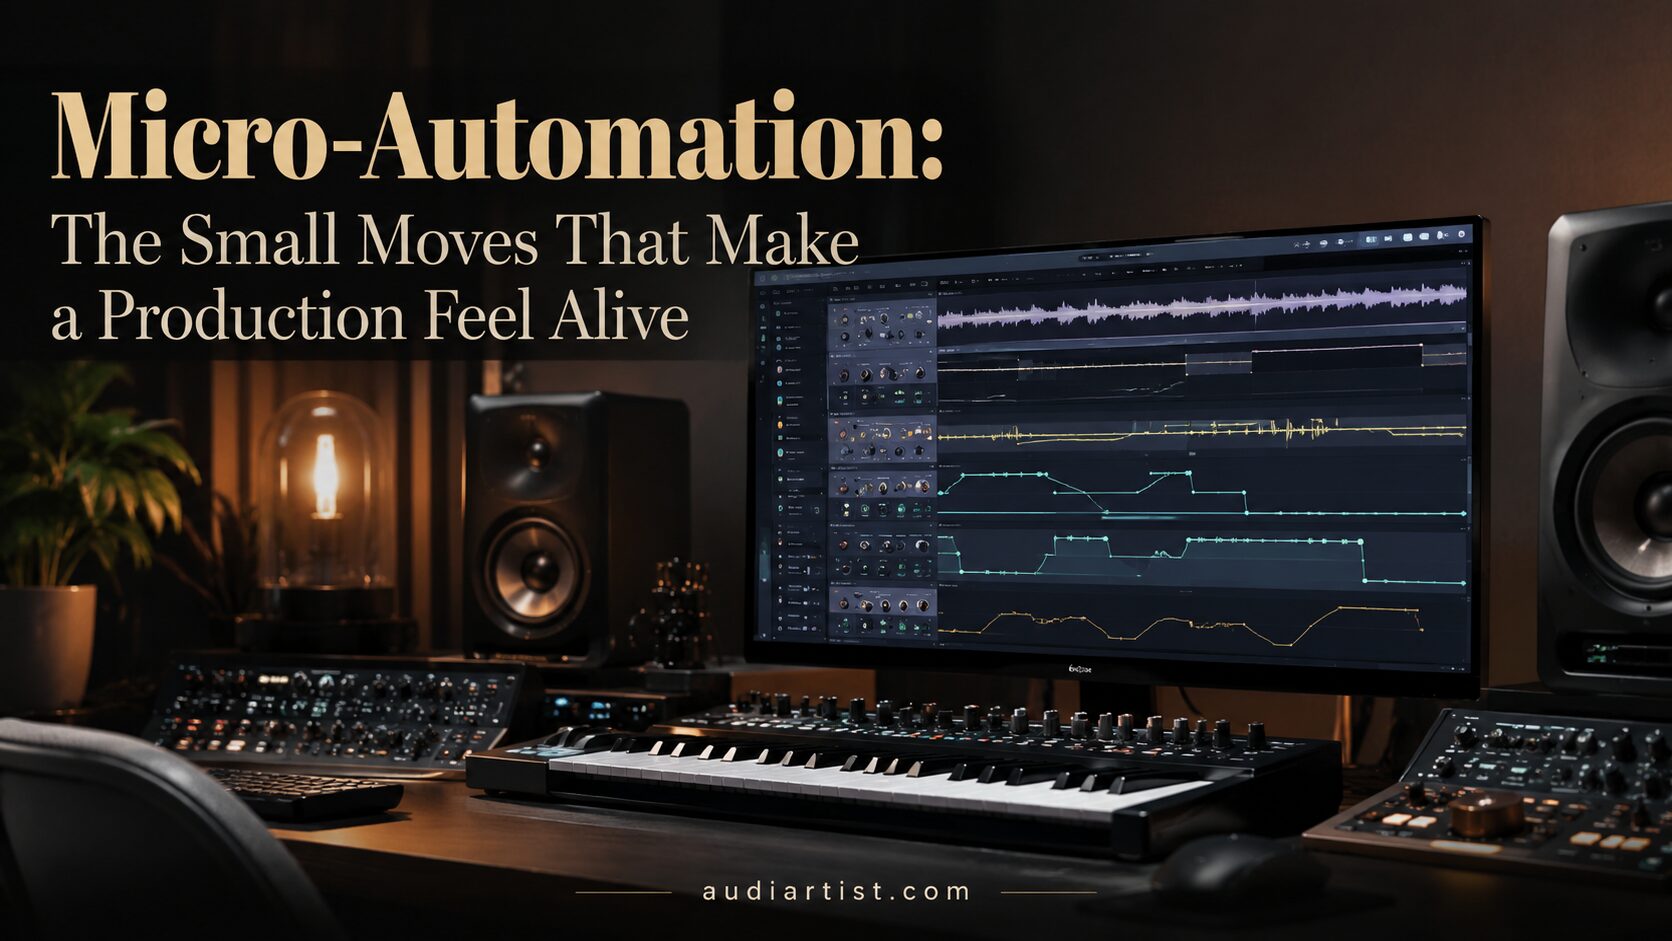
Micro-automation is the art of using small, controlled changes over time to make a production breathe. It is not dramatic automation for huge build-ups only. It is not just opening a filter before a drop. It is the subtle movement of volume, tone, space, width, delay, reverb, distortion, decay, pan, and intensity across a track.
When used well, micro-automation can make a loop feel performed instead of pasted. It can make a lead speak differently in each section. It can make drums groove harder, pads breathe deeper, basslines feel more intentional, transitions feel smoother, and hooks feel more alive without adding a single new track.
In modern music production, movement is not optional. Static sounds get boring quickly. Micro-automation is how you keep the listener engaged without turning the arrangement into a crowded plugin garage sale.
What Is Micro-Automation?
Micro-automation means making small parameter changes over time inside your DAW. These changes can be subtle enough that the listener does not consciously notice them, but strong enough that the track feels more dynamic, emotional, and alive.
Automation can control almost anything:
- Volume
- Pan position
- Filter cutoff
- Reverb send
- Delay send
- Delay feedback
- Distortion amount
- Stereo width
- Drum decay
- Synth release
- EQ brightness
- Compressor mix
- Noise level
- Vocal effect intensity
- FX return volume
The word “micro” is important. This is not always about extreme changes. A 1 dB volume lift before a chorus can change energy. A slightly brighter hi-hat in the second half of a verse can create movement. A tiny delay throw at the end of a phrase can make the arrangement feel more professional. A pad that slowly widens over 16 bars can make the hook feel larger without adding more layers.
Micro-automation works because the ear loves change. Even small changes reset attention.
Why Static Productions Feel Amateur
A static production is one where sounds behave the same way for too long. The lead stays at the same volume. The drums repeat without variation. The bass has the same tone from start to finish. The pad never opens. The reverb never changes. The delay is either always on or always off. Every section has the same spatial feeling.
This can make the track feel loop-based, even if the arrangement is technically complete.
Real performances are full of small movements. A drummer changes pressure. A singer leans into a word. A guitarist changes attack. A pianist plays some notes softer and some harder. A DJ filter sweep changes crowd energy. Even machine-based electronic music usually feels better when certain details evolve over time.
Micro-automation brings that sense of movement into programmed music.
The Difference Between Automation and Overproduction
Automation can make music feel alive, but too much automation can make it feel nervous. The goal is not to animate every knob like the studio has been invaded by tiny ghosts. The goal is to identify where the track needs movement and automate with intention.
Good micro-automation has a reason:
- It prepares a transition.
- It highlights a hook.
- It makes a repeated phrase feel fresh.
- It creates emotional contrast.
- It moves a sound forward or backward.
- It opens the section gradually.
- It creates depth without new layers.
- It reduces clutter before impact.
Bad automation changes parameters because the producer is bored. If the movement does not improve the song, it is decoration. Decoration is allowed, but only after the track works.
Start With Volume Automation
Volume automation is the simplest and often most powerful form of micro-automation. Before touching filters, delays, reverbs, or modulation effects, automate volume.
Many beginner mixes rely only on static fader levels. But music changes over time. A lead may need to be louder in the hook and slightly lower in the verse. A vocal chop may need to jump forward for one phrase. A pad may need to fade in slowly. A percussion loop may need to dip before the drop. A reverb return may need to disappear right before the kick returns.
Small volume moves can create major arrangement clarity.
Practical Volume Automation Ideas
- Raise the main hook by 0.5 to 1 dB when it first appears.
- Lower background pads slightly during the lead melody.
- Fade percussion in over 8 bars instead of switching it on suddenly.
- Dip the bass slightly before a fill, then return it with impact.
- Lower FX returns during dense sections.
- Ride a vocal phrase so every important word stays clear.
- Fade out a texture before it becomes annoying.
Volume automation is invisible when done well. The listener does not think, “Nice 0.7 dB fader ride.” They simply feel that the track breathes.
Useful Tool: Blue Cat’s Gain Suite
Blue Cat’s Gain Suite is a free collection of gain utilities designed to control volume on one or several audio tracks in real time. It can be useful when you want clean gain automation, linked control, or practical volume movement without changing the tone of the sound.
Use it for: volume rides, gain staging, linked track control, subtle level automation, clean utility automation.
Micro-automation tip: Place a gain utility before heavy effects when you want to automate how hard the signal enters the chain, or after the chain when you simply want to control final level. These two positions create different results.
Official website
Download Blue Cat’s Gain Suite
Filter Automation: The Classic Move That Still Works
Filter automation is one of the most effective ways to create movement. It can make a section feel like it is opening, closing, darkening, rising, or preparing for release.
A low-pass filter removes highs and makes a sound feel darker or more distant. Opening it gradually creates lift. A high-pass filter removes low end and can create tension before a drop. Band-pass movement can make a sound feel narrow, focused, or transitional.
The mistake is making filter automation too obvious every time. A giant sweep before every section change becomes predictable. Subtle filter movement across smaller sections can feel much more professional.
Practical Filter Automation Ideas
- Open the chord filter slowly during the intro.
- Darken a pad during the verse so the vocal or lead stays clear.
- High-pass percussion before a breakdown.
- Open a synth lead slightly more in the second hook.
- Filter a reverb return so it becomes brighter during a transition.
- Close a bass filter before a drop, then reopen it with the full groove.
- Use a tiny cutoff movement on repeated plucks to prevent stiffness.
Filter automation gives the listener a sense that the track is moving forward, even when the musical pattern stays the same.
Useful Tool: Kilohearts Essentials
Kilohearts Essentials is a free bundle of focused effects that includes filters, delay, reverb, distortion, chorus, flanger, phaser, tape stop, compressor, transient shaping, and other useful tools. The plugins are simple and fast, which makes them excellent for micro-automation.
Use it for: filter movement, delay throws, distortion rises, tape stop moments, modulation, simple creative automation.
Micro-automation tip: Automate one parameter at a time. For example, automate filter cutoff on a synth stab, delay mix on one phrase, or distortion amount during the last 4 bars before a drop. Small focused moves usually work better than five effects moving at once.
Official website
Download Kilohearts Installer
Delay Throws: Micro-Automation With Big Personality
A delay throw is a short automated delay moment, usually applied to the end of a phrase. Instead of leaving delay on all the time, you send one word, note, snare hit, clap, guitar phrase, vocal chop, or synth stab into delay for a brief moment.
This is one of the most professional-sounding micro-automation techniques because it adds movement without overcrowding the mix.
Delay throws work because they create space only where the arrangement has room. The original phrase stays clear, then the delay fills the gap after it. This makes the track feel more produced without constantly adding new FX layers.
Delay Throw Ideas
- Send the last word of a vocal phrase into delay.
- Add a ping-pong delay to the final note of a lead melody.
- Throw a clap into delay before the breakdown.
- Delay a vocal chop only before the hook returns.
- Use a short delay on a snare fill at the end of 16 bars.
- Automate delay feedback upward for one transition, then reset it.
The key is restraint. A delay throw is special because it appears and disappears. If the delay stays on constantly, it becomes part of the background and loses impact.
Reverb Send Automation: Depth That Breathes
Reverb automation can change the emotional distance of a sound. A dry lead feels close and direct. A wetter lead feels more distant or atmospheric. A pad with rising reverb send can feel like it is expanding. A vocal or synth phrase pushed into reverb at the end of a section can create a natural transition.
The common beginner mistake is using too much reverb on the insert and leaving it static. A better approach is to use reverb sends and automate how much signal enters the space.
Practical Reverb Automation Ideas
- Keep the lead dry during the main phrase, then automate reverb on the final note.
- Increase reverb send during a breakdown.
- Cut reverb right before the drop for stronger impact.
- Make the second hook slightly wider and wetter than the first.
- Automate drum room reverb lower during dense sections.
- Send only one snare hit into a long reverb tail before a transition.
Reverb automation creates depth without drowning the arrangement. It lets space appear only when it helps.
Pan Automation: Movement Across the Stereo Field
Pan automation can make a sound move from left to right, or subtly shift its position between sections. It is especially useful for percussion, textures, vocal chops, ear candy, delays, and background details.
Do not pan the foundation wildly. Kick, sub bass, main snare, and lead vocal usually need a stable center. Movement works best on supporting elements.
Good pan automation can make a track feel alive without changing the musical notes at all.
Practical Pan Automation Ideas
- Move a shaker slightly left and right over 16 bars.
- Pan a vocal chop answer away from the main lead.
- Automate a percussion fill across the stereo field before a drop.
- Move a background texture slowly during a breakdown.
- Pan delay returns wider during transitions.
- Keep the verse narrower and let support elements widen in the hook.
The listener may not consciously notice the motion, but the mix feels less static.
Useful Tool: Cableguys PanCake 2
PanCake 2 by Cableguys is a free auto-panning plugin that lets you draw custom panning curves. It is useful for creating rhythmic stereo movement and subtle motion across the mix.
Use it for: moving shakers, percussion, background textures, FX, vocal chops, stereo motion, rhythmic panning.
Micro-automation tip: Use PanCake 2 more subtly than the default “look at me” movement. Slow curves on quiet textures can create professional depth without making the listener seasick.
Official website
Download PanCake 2
Automating Drum Decay and Groove Energy
Drums do not need to stay the same across the whole track. A hi-hat can get shorter before a breakdown. A clap can get slightly more reverb in the second chorus. A snare fill can become tighter before the drop. A shaker can rise gently over 8 bars. A percussion loop can fade in instead of appearing suddenly.
Micro-automation on drums can make rhythm feel alive without adding more drum tracks.
Drum Automation Ideas
- Shorten open hat decay before a transition.
- Increase clap reverb send only in the final hook.
- Raise shaker volume gradually across 8 bars.
- Lower percussion before the lead enters.
- Automate snare delay for one fill.
- Mute one hi-hat hit before a drop.
- Reduce drum room reverb during dense sections.
- Increase transient intensity slightly in the final return.
Small drum changes are powerful because rhythm is one of the first things listeners feel. If the drums evolve, the track feels more alive.
Micro-Automation on Bass
Bass automation requires discipline. Too much movement in the low end can make the track unstable. But controlled micro-automation can make the bass feel more expressive and connected to the arrangement.
The bass should usually remain solid, centered, and reliable. Automation should support that role, not turn the low end into a confused animal.
Bass Automation Ideas
- Open the bass filter slightly during the second half of a build-up.
- Reduce bass volume just before a drop, then return it at full impact.
- Shorten bass release before a busy drum fill.
- Automate saturation slightly upward in the final hook.
- Mute bass for one beat to create tension.
- Make passing notes slightly quieter with velocity or clip gain.
- Reduce low-end weight during the breakdown.
Good bass automation is usually felt more than noticed. The foundation stays strong, but the energy changes.
Micro-Automation on Chords and Pads
Chords and pads are perfect candidates for micro-automation because they often occupy long spaces in the arrangement. If they remain static, the track can feel flat. If they move subtly, the whole production feels more emotional.
Automating chords and pads is not about making them louder all the time. It is about shaping their tone, width, depth, and presence.
Chord and Pad Automation Ideas
- Open a low-pass filter over 16 bars.
- Increase stereo width in the chorus.
- Lower the pad when the lead enters.
- Automate reverb send upward during the breakdown.
- Reduce low mids in dense sections.
- Slowly increase chorus or modulation depth.
- Fade a pad out before the drop so the return feels cleaner.
- Automate release time shorter in rhythmic sections and longer in emotional sections.
A pad can create movement without changing notes. That is the power of automation.
Micro-Automation on Leads and Hooks
The lead or hook is usually the listener’s main point of attention. It should not feel identical every time it appears. Small changes can make repeated hooks feel fresh.
This does not mean rewriting the melody each time. You can create development through automation.
Lead Automation Ideas
- Make the first hook dry and focused, then the second hook slightly wider.
- Add a delay throw only on the last note of the phrase.
- Open the filter slightly more in the final hook.
- Increase saturation by a small amount for emotional lift.
- Lower the lead during a vocal answer.
- Automate reverb send on phrase endings.
- Make one repeated note softer or darker.
- Use a short volume lift when the hook first enters.
Listeners like repetition, but they also like development. Micro-automation gives them both.
Useful Tool: MeldaProduction MUtility
MUtility is a free effect from MeldaProduction that includes volume, panorama, phase inversion, stereo swapping, DC blocking, delay, RMS and envelope tools, and other utility features. It is not a flashy creative effect, but it is highly useful for practical automation.
Use it for: volume moves, panorama control, stereo utility work, gain adjustments, phase checks, simple movement, technical cleanup.
Micro-automation tip: Use utility plugins for clean movement. Sometimes the best automation is not an obvious effect, but a tiny gain ride, pan change, or level correction that helps the arrangement breathe.
Official website
Download MUtility with MFreeFXBundle
The 8-Bar Micro-Automation Rule
A simple way to use micro-automation is to make one small change every 8 bars. It does not need to be obvious. It only needs to keep the arrangement moving.
Examples:
- Bars 1 to 8: chords are slightly filtered.
- Bars 9 to 16: filter opens by a small amount.
- Bars 17 to 24: percussion fades in slowly.
- Bars 25 to 32: delay throw appears at phrase endings.
- Bars 33 to 40: pad becomes wider.
- Bars 41 to 48: low end reduces before breakdown.
- Bars 49 to 56: reverb send increases.
- Bars 57 to 64: full groove returns, reverb drops back.
This keeps the track alive without requiring new musical elements.
Micro-Automation and Emotional Storytelling
Automation is not only technical. It is emotional.
A dry vocal feels intimate. A wetter vocal feels more distant. A dark synth feels restrained. A bright synth feels open. A narrow verse feels focused. A wide chorus feels expansive. A quiet texture feels mysterious. A rising delay feedback feels tense.
When you automate, you are controlling how the listener feels the section.
Use automation to create emotional direction:
- Make the intro feel small and close.
- Let the verse breathe with subtle movement.
- Make the pre-hook feel tense through filtering and reduced low end.
- Open the hook with width and brightness.
- Push the breakdown farther away with reverb.
- Make the final return feel more confident with small level and tone changes.
Micro-automation turns arrangement into storytelling.
Micro-Automation by Genre
House and Tech House
Use filter movement on stabs, reverb send on claps, subtle shaker fades, bass filter changes, delay throws on vocals, and small percussion pan movement. The groove should stay stable, but details should evolve.
Afro House and Organic House
Use percussion level rides, call-and-response delay throws, evolving pad depth, subtle vocal reverb automation, and bass reduction before returns. Movement should feel natural and breathing, not overly mechanical.
Trap and Hip-Hop
Use 808 stops, hat roll level changes, sample filtering, vocal chop delay throws, tape stop moments, and small lead effect changes. Keep the beat clear and make automation support the hook.
Lo-Fi
Use gentle volume rides, tape-style modulation, soft filter movement, room tone changes, subtle noise fades, and mellow reverb automation. Lo-fi automation should feel lived-in, not dramatic.
Synthwave
Use pad width automation, bass filter movement, gated reverb changes, delayed lead tails, and rising arpeggio brightness. Movement should feel cinematic and nostalgic without becoming cluttered.
Cinematic and Ambient Music
Use long volume swells, evolving reverb sends, gentle filter arcs, stereo motion, and dynamic texture changes. The movement can be slow, but it should always lead somewhere.
The 20-Minute Micro-Automation Exercise
Open a track that feels repetitive. Do not add new sounds. Spend 20 minutes adding only micro-automation.
Minute 1 to 4: Choose the Main Problem
Is the track flat because the hook repeats too much, the drums are static, the pads do not evolve, or the transitions feel weak? Choose one area first.
Minute 5 to 8: Automate Volume
Add small level moves. Bring important parts forward. Push support parts back. Create fades instead of sudden entrances.
Minute 9 to 12: Automate Tone
Use filter cutoff, EQ brightness, saturation, or modulation depth to make one sound evolve between sections.
Minute 13 to 16: Automate Space
Add reverb or delay send automation on phrase endings, breakdowns, or transitions. Keep the main groove clear.
Minute 17 to 20: Automate Width or Motion
Add subtle pan movement, stereo width changes, or rhythmic motion to a supporting element. Compare before and after.
At the end, the track should feel more alive without being more crowded.
The Micro-Automation Checklist
Before adding another sound, ask:
- Can I automate volume instead?
- Can a filter open or close over time?
- Can a delay throw fill the gap?
- Can reverb appear only at the end of a phrase?
- Can the pad become wider in the hook?
- Can the drums change decay or level?
- Can the bass drop out briefly for tension?
- Can the lead become brighter in the final section?
- Can the transition work through movement instead of another riser?
- Can one existing sound do more?
If the answer is yes, automate before adding.
Common Micro-Automation Mistakes
Automating Too Much at Once
If five parameters move dramatically at the same time, the listener may feel confusion instead of energy. Start with one clear movement.
Making Every Section Too Busy
Movement needs contrast. A quiet, stable section can make the next automated section feel more exciting.
Using Automation to Hide Weak Parts
Automation cannot save a weak melody, bad sound selection, or poor groove. Fix the core first, then automate.
Forgetting to Reset Parameters
A delay feedback or filter movement that stays too high after a transition can ruin the next section. Always check what happens after the automation move.
Never Listening Without the Screen
Automation lanes look impressive, but music is not judged by beautiful curves. Close your eyes and listen. The curve only matters if the track feels better.
Final Thoughts: Small Moves, Bigger Life
Micro-automation is one of the easiest ways to make a production feel more alive without adding more sounds. It turns static loops into evolving sections. It makes repeated hooks feel fresh. It creates tension before transitions. It adds depth, width, motion, and emotion without clutter.
The best part is that micro-automation does not require expensive tools. Your DAW already has automation. Free utility plugins, filters, delays, reverbs, panners, and modulation tools can expand what is possible, but the real skill is listening.
When a track feels flat, do not immediately add another layer. Move something. Lower something. Open something. Delay one phrase. Push one sound back. Widen one texture. Shorten one drum. Fade one detail in slowly. Cut one reverb before the drop.
Small moves can create big life.
That is the quiet power of micro-automation.